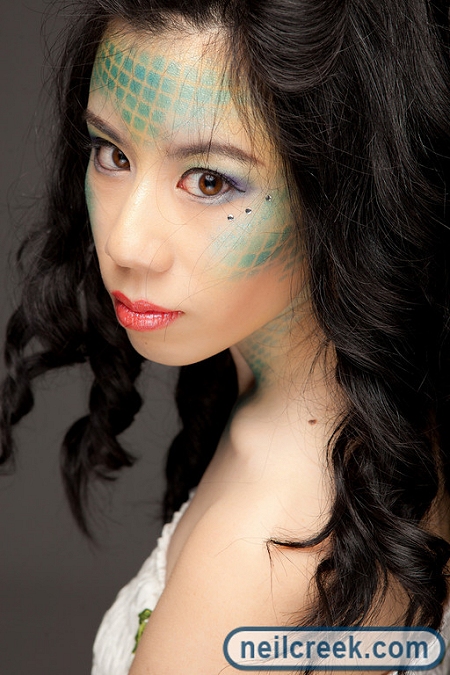
So as you know from yesterday’s post, today’s look book is very special! Unfortunately I haven’t received all the photos taken that day, so you can look forward to a 2nd post involving some props later on.
This is the first lookbook I’ve had photographed not only by pro photographers, but with some awesome stylists as well! Making sure my hair was perfect, making sure my pose was right on etc. I’m not sure I can ever go back to doing my 1 person lookbook again lol. Well at least not happily, I’ve been thoroughly spoilt!
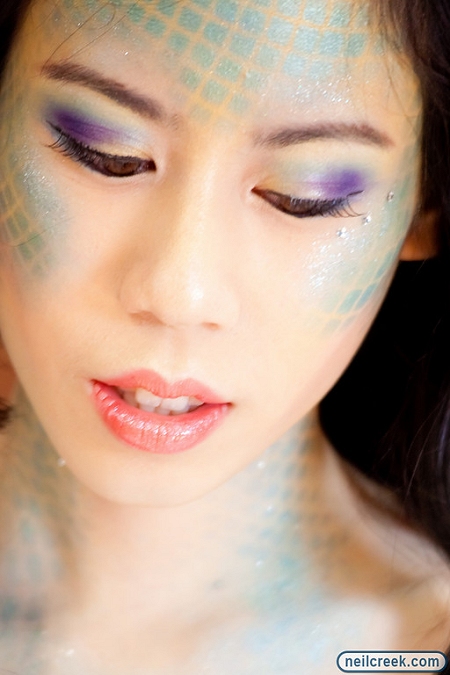
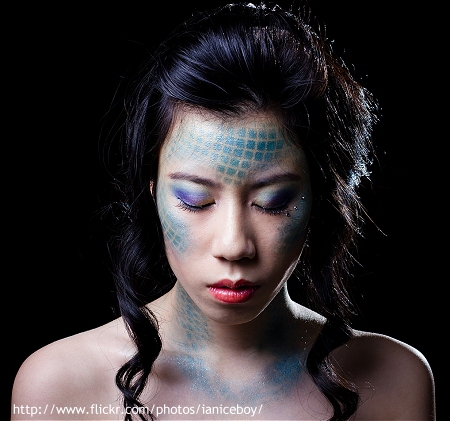
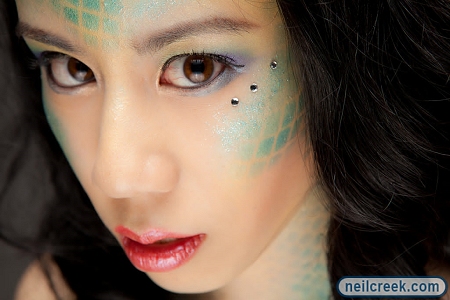
I went with a mermaid look, something I’ve always wanted to try~ Creating a mermaid costume has been a dream of mine, but knowing how conservative I am, it’ll be one I probably won’t realise hehe. So this look book is as close as I can get 🙂 I hope you guys enjoy the photos! See steps to recreate below.
Oh and it should be noted, this look lasted over 10 hrs without smudging at all! It’s all in the primer baby since my skin is naturally oily.
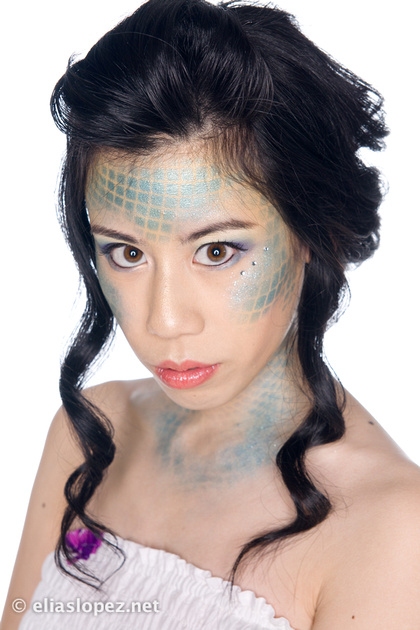
Photo credit goes to Neil Creek, Elias Lopez and Hayden Pratt. Elias and Sam still have a couple more photos to post-process, so I’ll be sure to upload those for you guys once I get them 🙂
Steps to reproduce:
Face
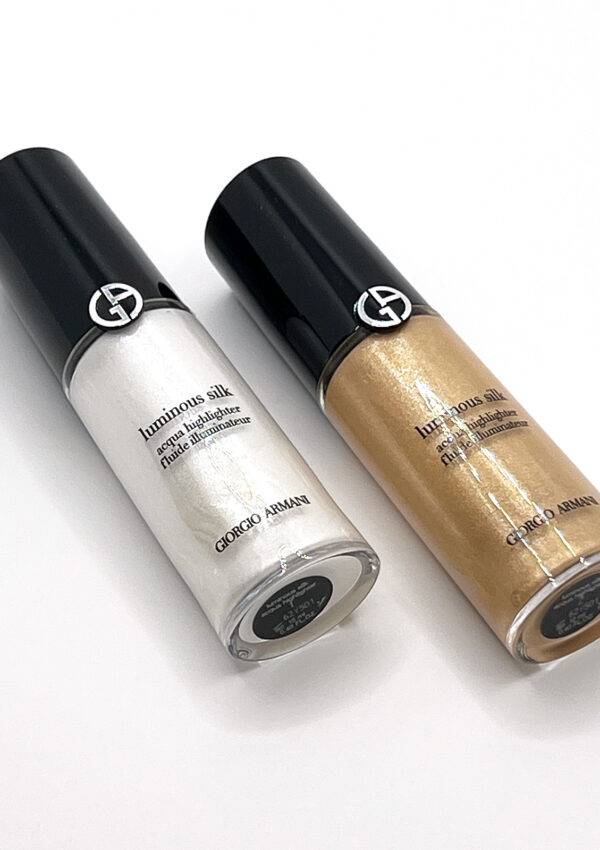
Make sure you have a clean face, and apply MAC’s Prep and Prime all over the face. One pump is all you need. Once done, apply about 2-3 pumps of Giorgio Armani’s Luminous Silk Foundation in 4, I recommend using a foundation brush for this. I always feel like brushes cause less drag, and seem cleaner than using my fingers (though I’m not scared to use my fingers when I need to!)
Apply Bobbi Brown’s Creamy Concealer in Beige under your eyes, side of your nose and where you can find any redness or imperfections (I was breaking out for this shoot so concealer became my best friend 🙁 ) Dust Bobbi Brown’s Sheer Finish Loose Powder in Pale Yellow lightly over the concealer.
Next with a puff, pat on Giorgio Armani’s Micro-Fil Loose Powder in 1. Don’t be afraid to be a little generous with the powder as I’m sure some will fall off when we get to our next step.
Cheeks
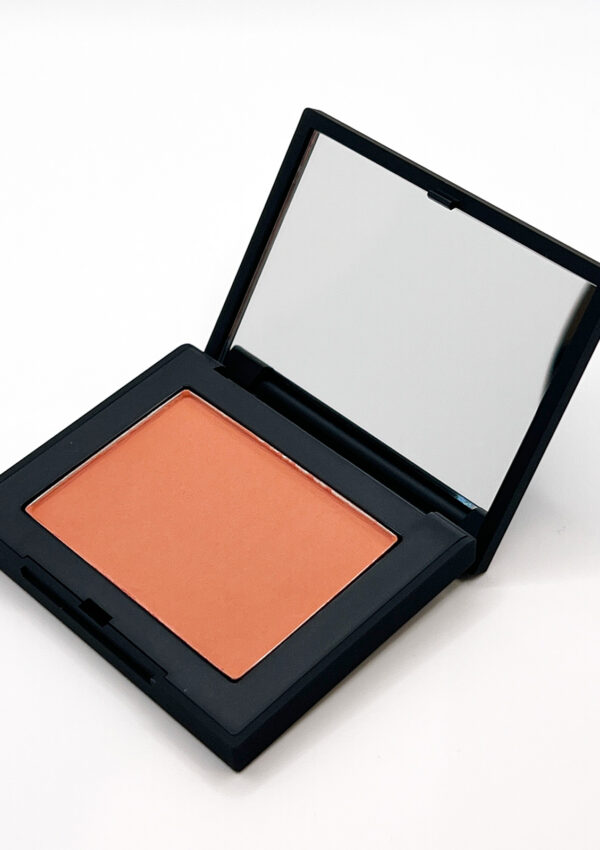
Apply NARS’ Laguna Bronzer into the hollows of your cheek, we want the apples of your cheek to really pop for this look. Tap out some NYX Ultra Mania Pearl in Yellow Pearl on to a mixing plate, and with a powder brush dust it all over your forehead, making a “V” like shape. Then dust some on your temples, cheeks, jaw line and don’t forget your neck and upper chest too, or anywhere you want your “scales” to appear.
Next is the tricky part, find a cheap pair of fish net stockings and cut it to seperate the legs. Then, put one leg over your head so that the netting overs your entire face. Go slow with this part, we don’t want to drag our foundation too much, but at the same time we want the netting to sit tight on our face so it doesn’t move.
Fun time! Tap out some Turquoise Pearl and apply it over the same areas you applied the yellow. Only this time, not as liberally. You need to make sure the yellow is still showing, so only apply within the yellow areas, staying clear of the edges. To make sure the colour is pigmented enough I sprayed some MAC Fix+ into my mixing plate. It helped intensify the colours a great deal.
Next apply Ocean Blue Pearl over the top of the Turquoise Pearl, don’t cover it 100%, but pat on enough to give it a “blue glow”. Hmm… it’s times like this I wish I did video tutorials as well, it would make it so much easier to explain if I could show you… would anyone even watch them? lol okay, back on topic!
Finally before removing the stocking, apply NYX’s Glitter Mania in Crystal all over the pigments used, be generous! We want that “just out of the ocean” fresh, sparkle look!
Take off the stockings and see how awesome the scales look! Do exactly the same as above for your neck as well.
Now we need more glitter! Seriously, I was a walking disco ball that day and the glitter still wasn’t as strong enough in some photos! When it comes to make up for photo shoots, use a heavy hand. I applied Milani Crystal Eyez in Gorgeous & Glowing with my fingers on my forehead, apples of my cheeks, neck and collar bone. Glitter makes this look!
And if that wasn’t enough, using DUO eyelash glue, I applied 3 small crystals just under my left eye.
Eyes
Apply NARS Smudge Proof Eyeshadow Base all over the lids and under your lower lashes. Put on as little as possible to have good coverage without leaving your eyes feeling “damp”.
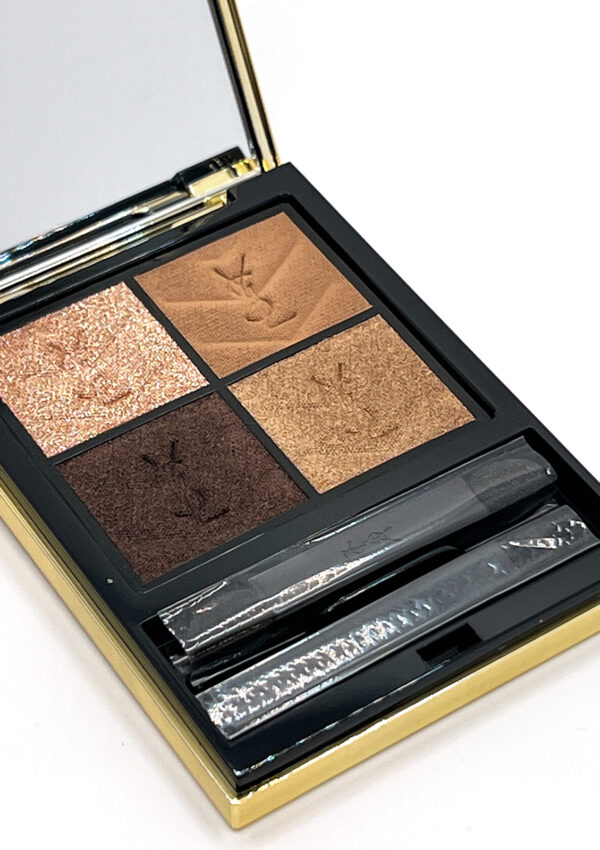
Next using my Coastal Scent 88 Ultra Shimmer Palette, apply a yellow colour all over the lid. Next use a medium blue colour and apply it just above the crease, make sure to wing it out. Add a bit of the blue under our lower lash line. Then use a aqua / green colour and apply it directly into the crease. Finally use a dark blue colour and apply it to the outer corner of your eye, make sure the colour is saturated, having these different shades really adds definition to the eyes, which your eyes certainly need to stand out with against all the crazy vibrant scales on your face. Then use MAC Pigment in Vanilla in the inner corner of your eyes and brow bone.
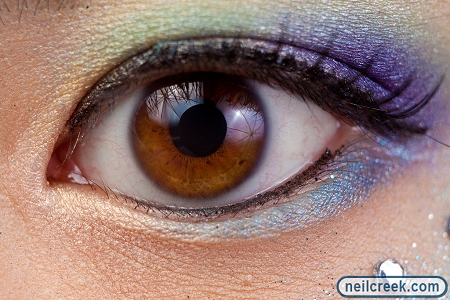
Next, line your upper lash line with MAC Fluidline in Blacktrack. Wing it out ever so slightly, we don’t want a vampy look. I always prefer using pencil liners for my waterline, so here I used Savvy by DB Luxury Liner in Shimmering Slate. This stuff doesn’t budge, love it!
I unfortunately forgot to bring my mascara to the shoot 🙁 But I did have my eye lash curler and false lashes, so after curling my eye lashes, apply false lashes and then I used my fluidline mixed in with some MAC Fix+ to try and combine my own lashes with the false lashes.
Lastly fill in your brows with any brow pencil you have, or use eye shadow! It works just the same 🙂
Lips
I stained my lips with YSL Rouge Volupte in 15, then applied MAC Lipglass in Flurry of Fun on top for added sparkle.
Hair
I curled my own hair, but my lovely Sefie is responsible for pinning it up for the photos 🙂


SO MUCH LOVE FOR THIS LOOK.
Love to you for helping me style my hair!!! <3 <3
Love the second picture!
Thank you <3 <3
Wow, love this look! It’s gorgeous!
Thank you!! I think it’s one of my favourite looks 🙂
This is so creative and amazingggg!
I think I need to go buy some primer so my makeup doesn’t smudge cos I find that it smudges A LOT :/
Thank you <3 <3 Yes! Primer is so important, esp for eye makeup 🙂 (face primer is a nice to have, not a need).