Valentine’s Day is an interesting day, and it can carry so many different meanings depending on who you are, what your situation is as well as what your experience has been.
Personally? It’s a pretty uneventful day for me, maybe it’s a result of living in Australia or just me as someone who isn’t big of celebrating big events. However I’ll never turn down an opportunity to play with makeup, cosplay or just have fun with all the different events around me. It’s just so much fun, and even better when you can rope your friends into all your fun and games 🙂
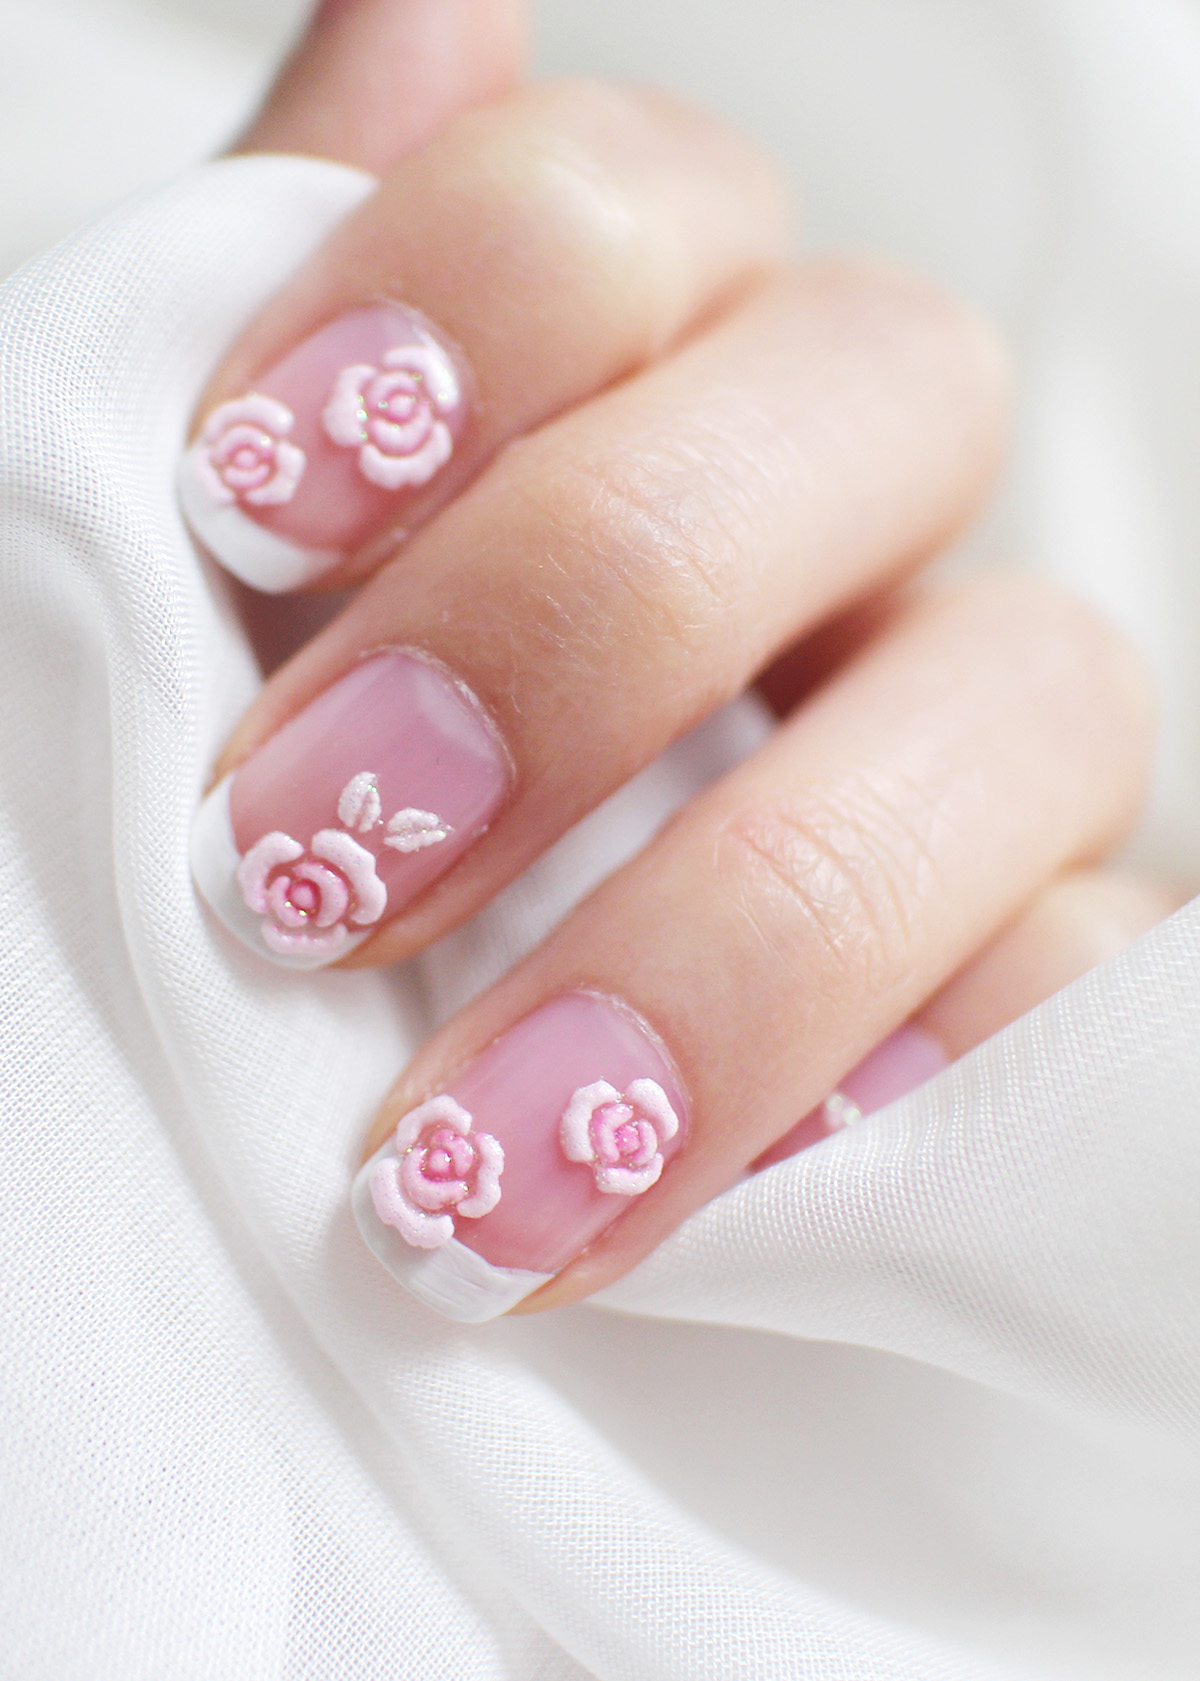
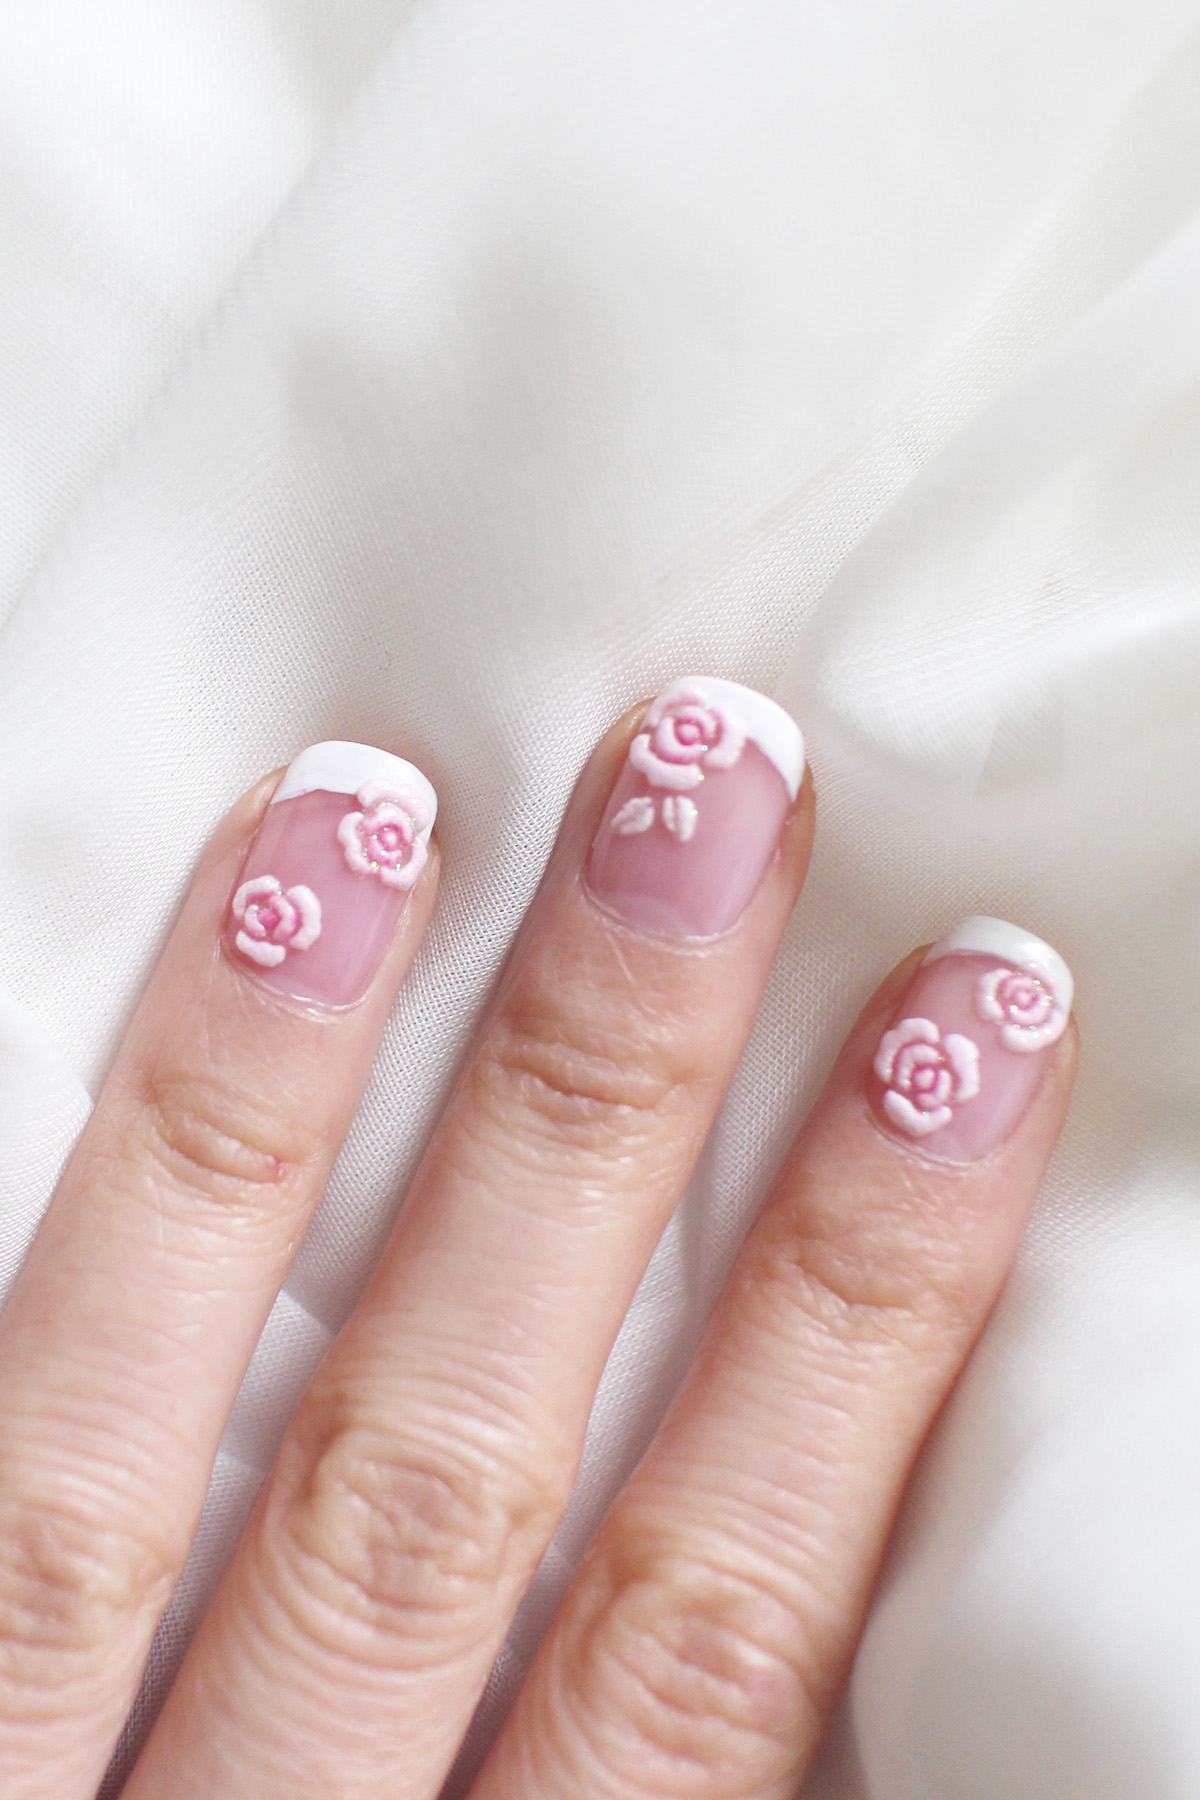
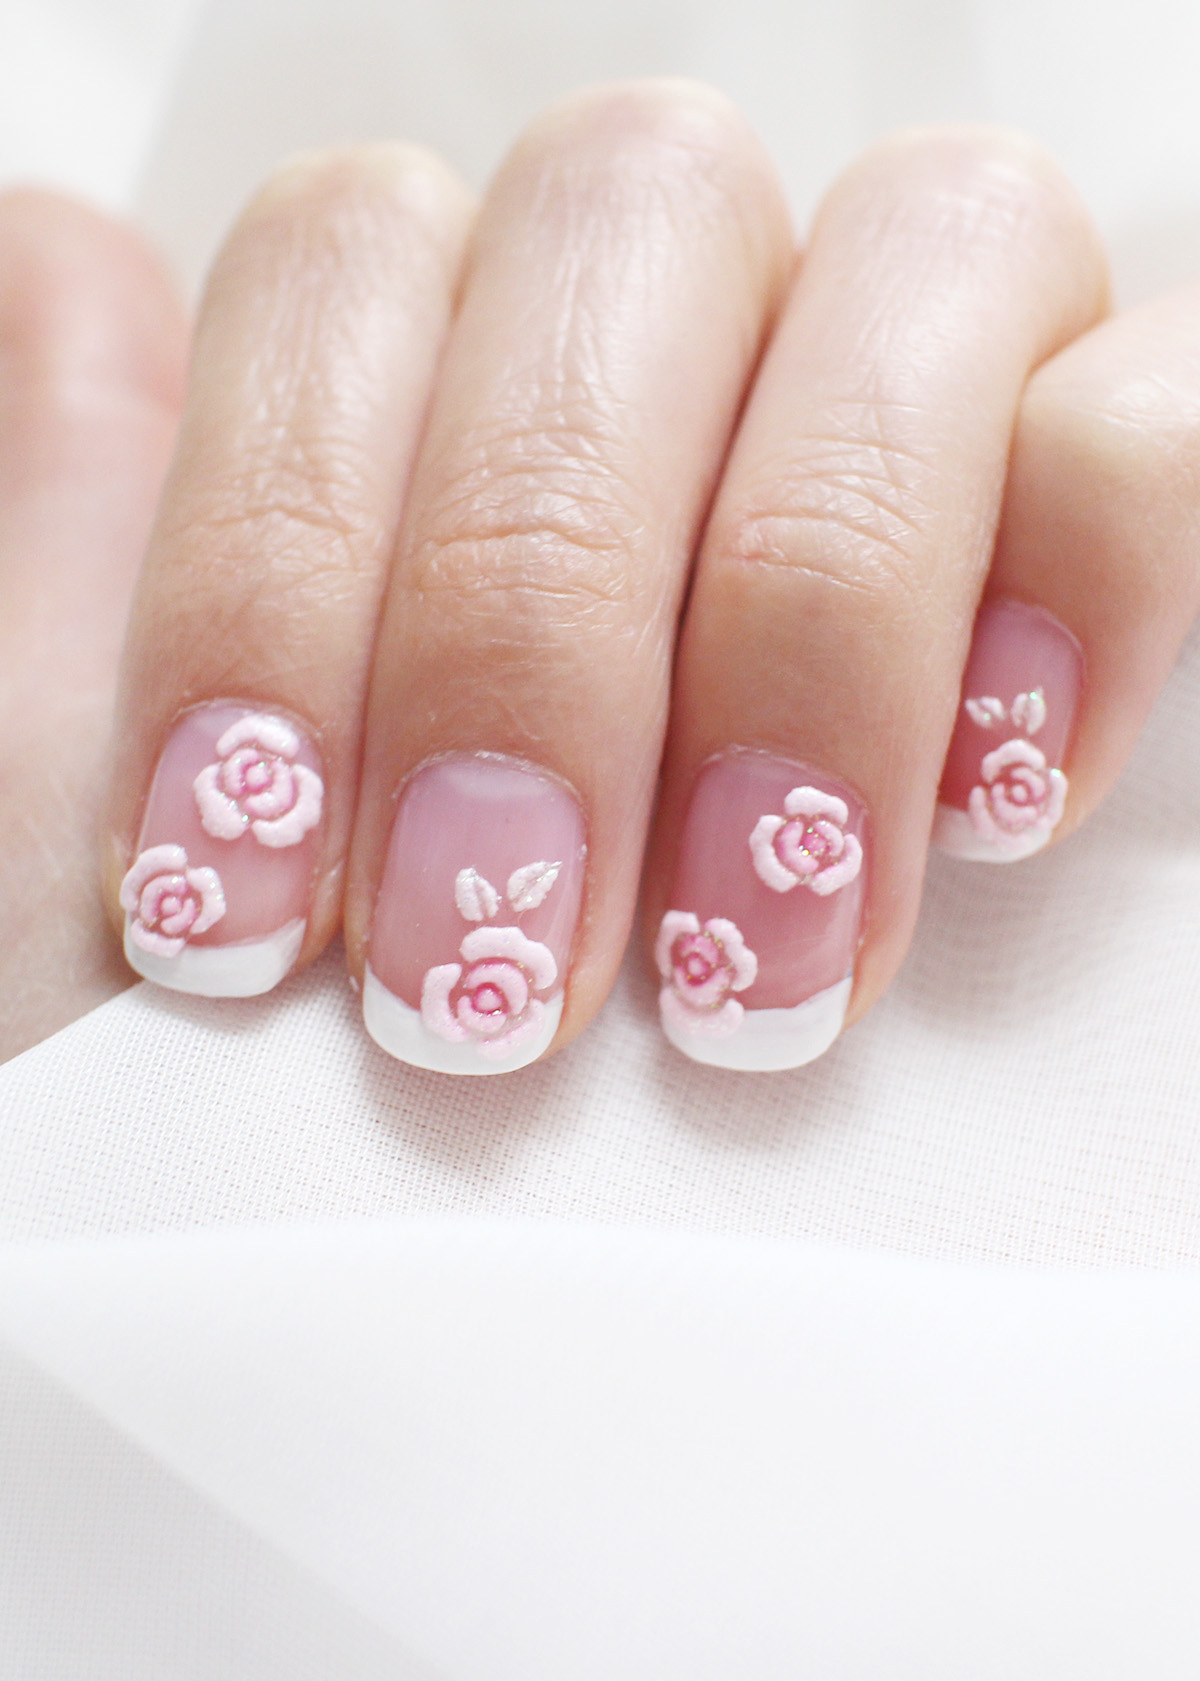
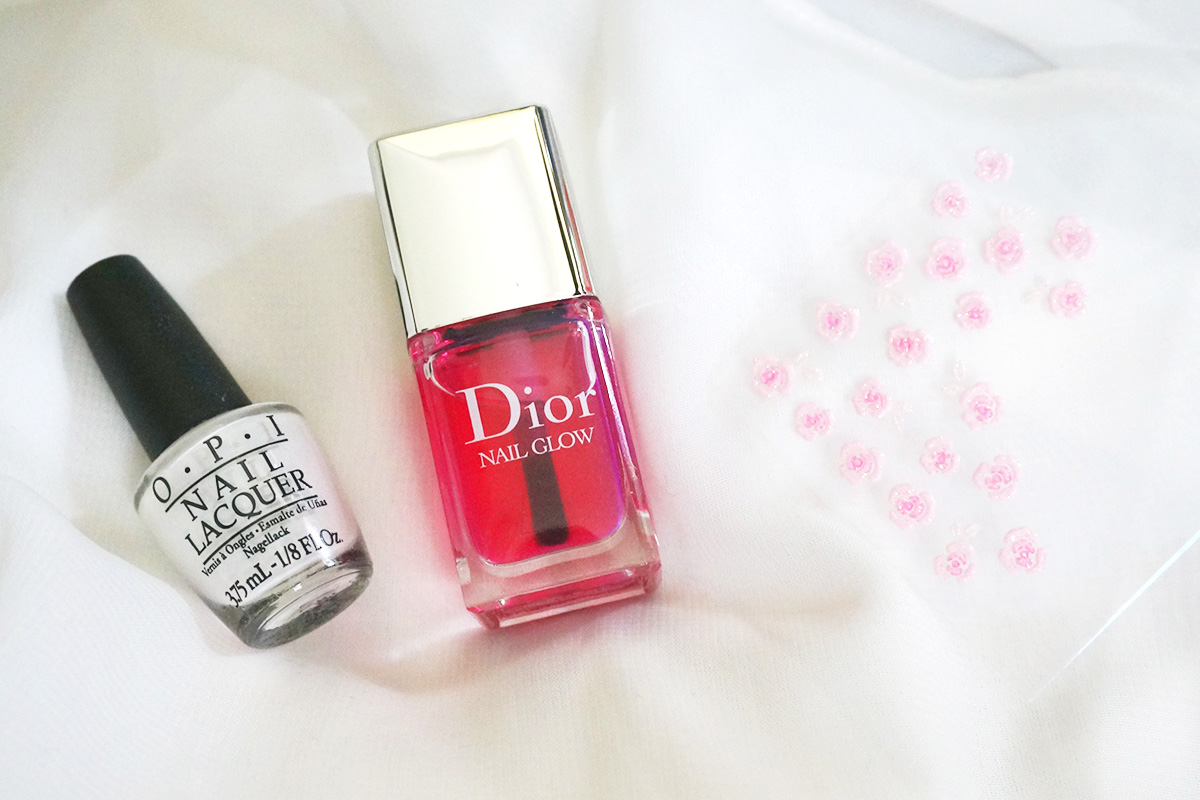
So when I recently visited Daiso, I made a bee line to the cosmetic section as I always do. It’s a real internal battle not to purchase every cute thing I see! After all my, justification is it’s only $2.80AUD! I couldn’t pass up on these cute little pink rose nail art stickers, Daiso has an abundance of them and then some. These and Dior’s Nail Glow give the traditional French Manicure a cute twist that I thought was perfect for Valentine’s Day.
If you’re looking for a bit of inspiration then I highly recommend you visit your local Daiso or equivalent low-cost store for nail stickers and have a glance through my Valentine’s Day Nail Art tutorial below, step by step. Nail art stickers are a quick and easy option for anyone look to add a bit more glam to their nails minus the effort it would take to pain these roses individually. Tutorial below is perfect for people who are absolute beginners to nail art.
PRODUCT USED:
Daiso Pink Rose Nail Art Stickers
STEPS TO REPRODUCE:
- Make sure to prep your nails before hand, make sure your nails are clean and any hang nails and cuticles are removed or pushed back.
- Put down one coat of OPI Nail Envy or your favourite base coat. Never skip this step, it’s the best way to protect your natural nails from discolouration or damage.
- Apply OPI Alpine Snow to the tips of your nails, you can create the look of tips even with short nails. I free handed mine, but there are plenty of stickers and templates you can use to help guide you. If you would like me to demonstrate or review any, feel free to let me know in the comments down below.
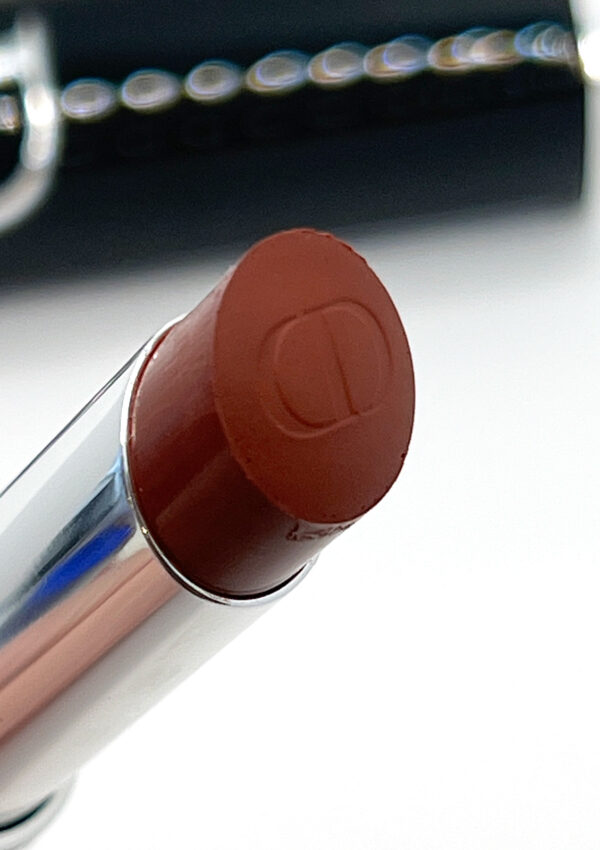
- Apply 1-2 coats of Dior Nail Glow, I love this polish for giving my nails just a subtle pink tint to give them a more interesting flavour than just your typical French manicure.
- Gently and carefully apply your nail art stickers, be mindful of where you put down these stickers avoiding areas of your nails with too much of a bend as some nail stickers (especially thicker ones) don’t bend smoothly and end up lifting up without enough glue. If this happens and you insist on placing the stickers on a curved section, consider using nail glue to help secure the sticker better.
- Once done, apply 2 thin coats of OPI Top Coat and make sure the edges of the sticker are well covered without being too thick. Too thick, it won’t dry and will create dents, but too thin and the polish is essentially useless at sealing the rough edges of the stickers. Two coats are needed to make sure all the edges are smoothed down. Feel free to use quick dry drops if needed.
I’m always on the look out great new nail art designs so if you have any recommendations, feel free to leave them in the comments down below.
Also if you are looking for some more Valentine’s Day related inspiration, feel free to check out my Valentines Makeup look as part of my Book of Fables series.

love how adorable these nails are!
Thank you!
So cute!
Thank you!